As a visual communicator I’m hypersensitive to images that have been badly Photoshopped. Here are some common mistakes in no particular order and how to avoid them.
1. Distorting An Image When Transforming It.
A photo has a set aspect ratio and when rescaling it using a tool like Transform it’s easy to accidentally make it too tall or wide. The trick is to hold down the Shift key while resizing. If you know what image dimensions you need use the Image Size dialog box.

2. Using Wrong Color Profile
Images have a color profile tag embedded that describes how to accurately display it. If you use a color profile in the wrong context it affects how an image looks. For example if your website images look flat and dull chances are they are in Adobe RGB (1998) or worse CMYK. Your photographer, designer or printer has supplied images intended for repurposing or printing but certainly not for the web.
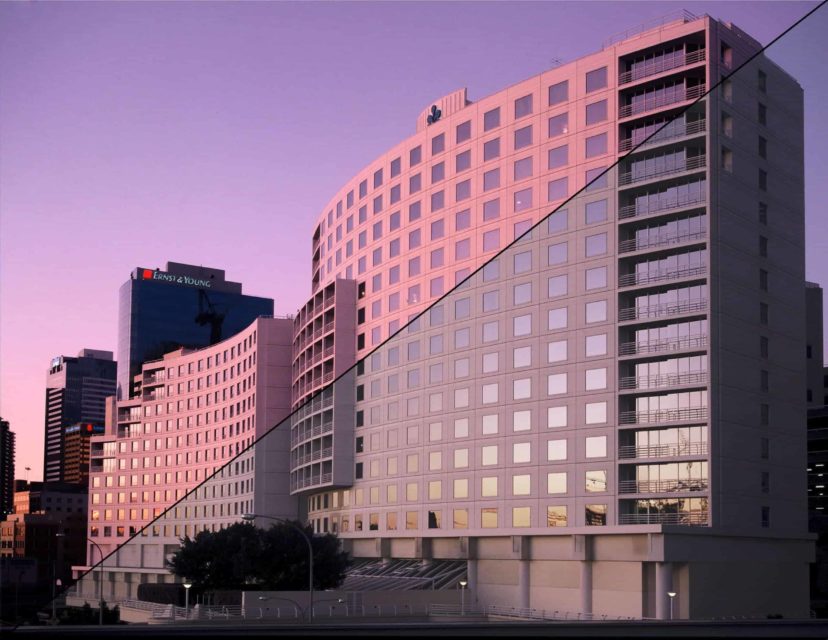
When you edit images in Photoshop you can see what color profile an image has and should Convert it for the appropriate end use, e.g. sRGB for web or PowerPoint. Do not Assign a color profile for this as it doesn’t change the image but tags the photo with the wrong color profile.
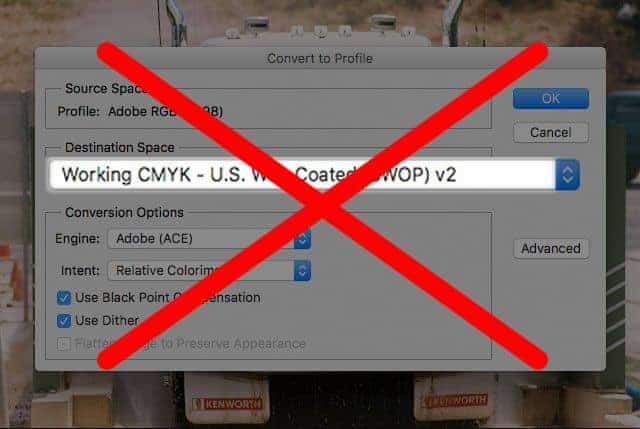
3. Convert To CMYK
Have a professional do your CMYK conversions. Every printer, paper stock and ink-set has it’s own CMYK profile. Why not DIY? If you’re about to print hundreds of thousands of pages and you incorrectly convert to CMYK guess who has to pay for the the reprint?
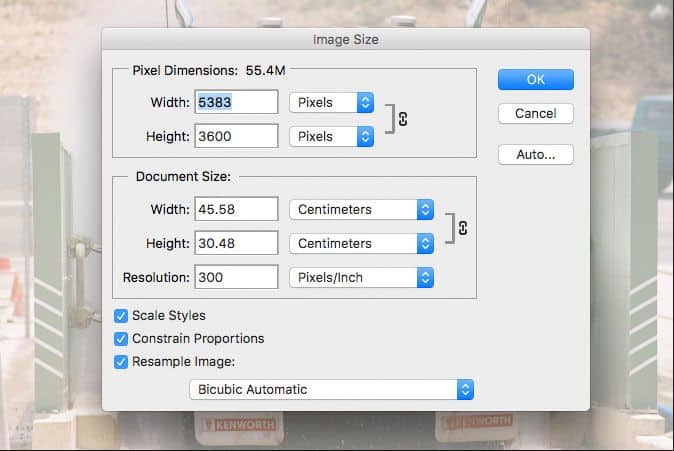
4. Save As High Res 300DPI
I’ve previously posted on just this point alone! DPI indicates the scale an image is reproduced not it’s resolution. Image size is best described in pixels: e.g, 5383 x 3600 pixels. When you resize an image in Photoshop you will first see Pixel Dimensions and way down below Pixels/Inch.
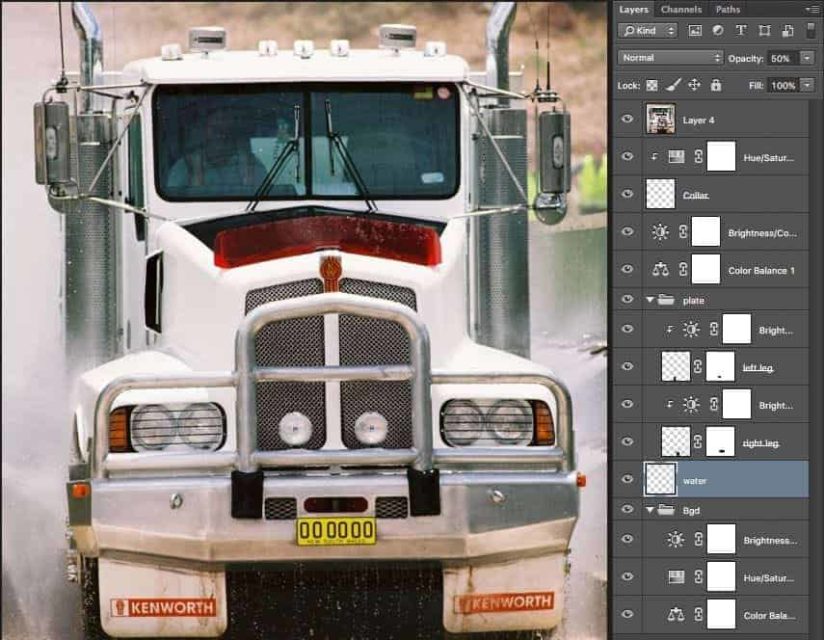
5. Destructive Editing
Every time you edit a photo and save it you throw away pixels. Adjusting colour, contrast, brightness doesn’t create new pixels it deletes some to apply your enhancements. You can work non-destructively on TIFF or PSD files by using Adjustment Layers. You will also save on disk space by not creating multiple TIFF versions of the same image with new edits. As the name implies Adjustment Layers can be adjusted later without changing the pixels.